When I moved from Seattle to Anchorage, I figured it was a good time to purge a lot of the things I didn't really need. I decided that anything that wouldn't fit into my little Subaru probably wasn't all that necessary to bring on the 2,500 mile trip up to Alaska. As I was loading up the night before the trip, one of my neighbors came over to say goodbye. At the time, I was shoving a ball-lock keg, a glass carboy, and a CO2 tank into the back the of an already jam-packed car. As he walks up he asks, "Only the essentials, huh?"
Brewing and learning about beer have been hobbies of mine for a while now. I took a short break from brewing when I first came up to Alaska because I wanted to spend my free time traveling around, hiking, fishing, biking, etc. But after feeling a bit more settled, I wanted to get back into it. Fortunately, my good friend Chandler is also a homebrewer. Plus, it doesn't hurt that his girlfriend is very patient when we don't quite get a solid seal when attaching hoses to the sink faucet, spraying water all over the kitchen, and when we make their entire house smell like a brewery -- so thanks again, Jenny.
For a while now, we've brewed enough for both of us to keep two or three different beers on tap at any given time and I'm very proud to say that I rarely drink a beer that we didn't make. I realized that if I grabbed images I had from winter and spring, I could actually run through all of the basic steps of brewing an all-grain batch. So, the following is a quick and dirty intro the whole process as well if you've never done it.
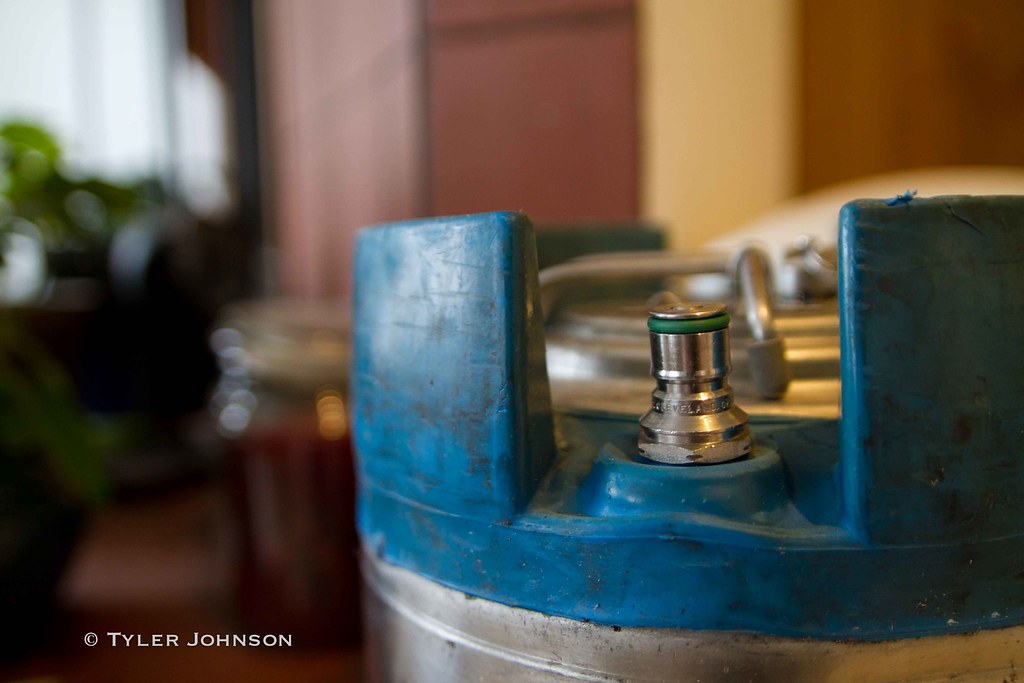


As boring as it sounds, the key to a good beer is preparation. Cleaning and sanitizing your gear is arguably the most important step in brewing. The last thing you want is to spend 6-8 hours on your batch and a month or more fermenting to come out with contaminated beer on the other end. Obviously, it's also good to double check all of your seals and filters at this point as well.

Once everything's set to go, it's time to start the mash. Basically stated, mashing is a process of soaking grains in hot water in order to release the sugars. Depending on the temperature, your wort (the sweet liquid that you strain at the end of this step) will have a different mixture of fermentable and sweetening sugars. In a simple sense, the higher the temperature, the more body and sweetness your beer will have in the end. Lower temperatures cause the sugars to be more fermentable, resulting in dryer beers with more potential for higher alcohol content. The grains soak in the hot water for about an hour.
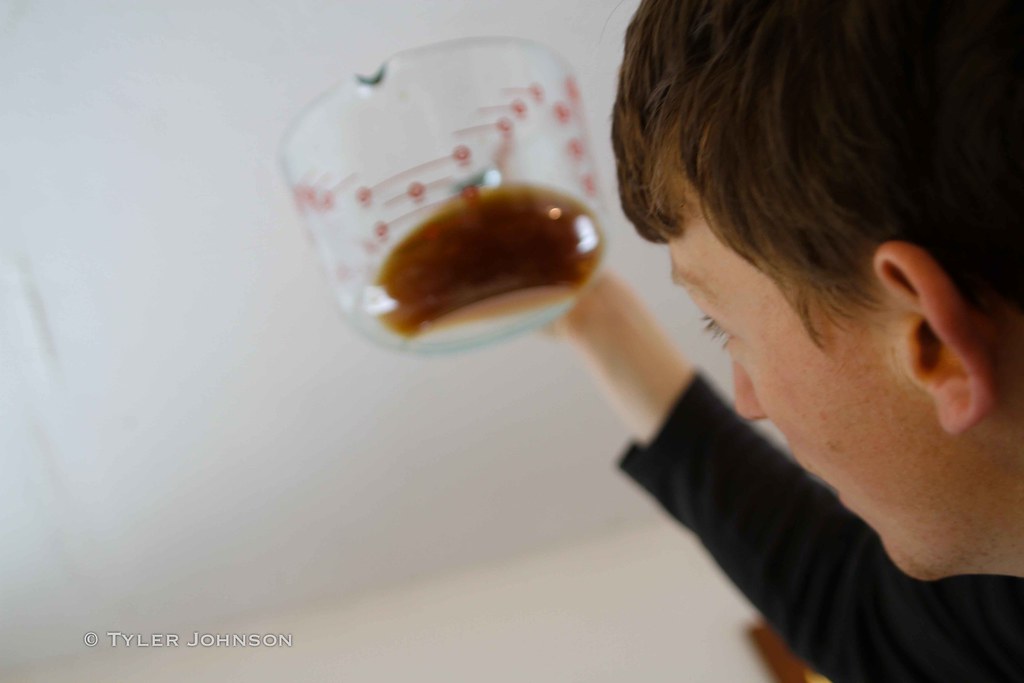
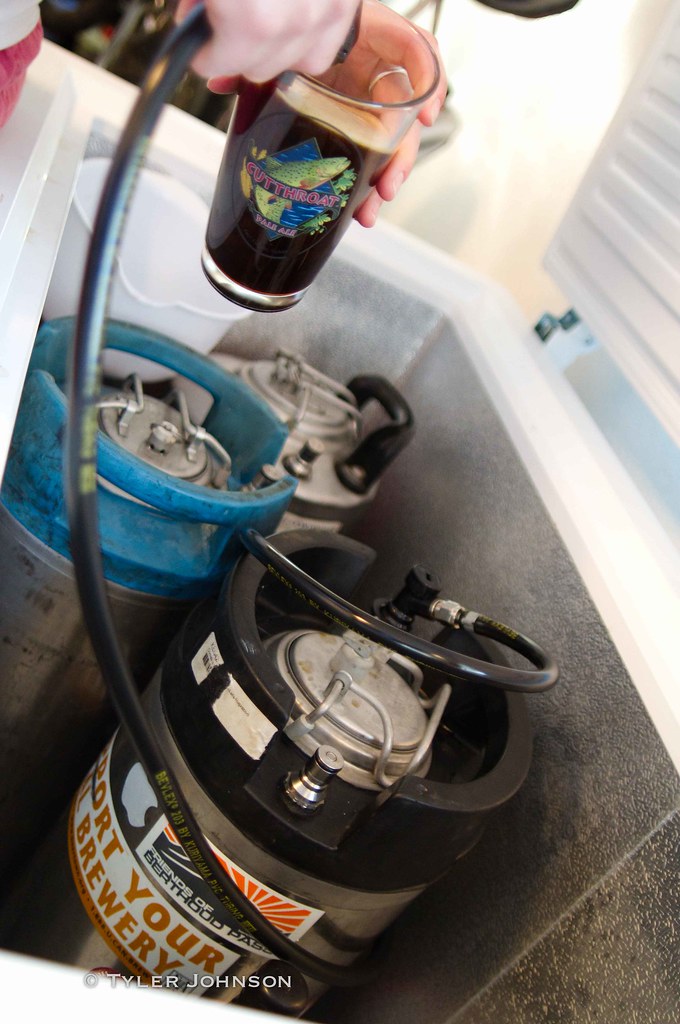
The above image is of me (taken by Chandler) pouring in sparge water after the mash. This water is much warmer than the first addition and rinses the grain husks in order to pull out the remaining sugars and dextrins left behind after the first drain. The image below is of Chandler doing a vorlauf - clarifying the liquid coming out by recycling it through the grains until a filtration bed has been set up. This is done after both the mash and sparge. And yes, that last bit was just so that I could say "vorlauf".


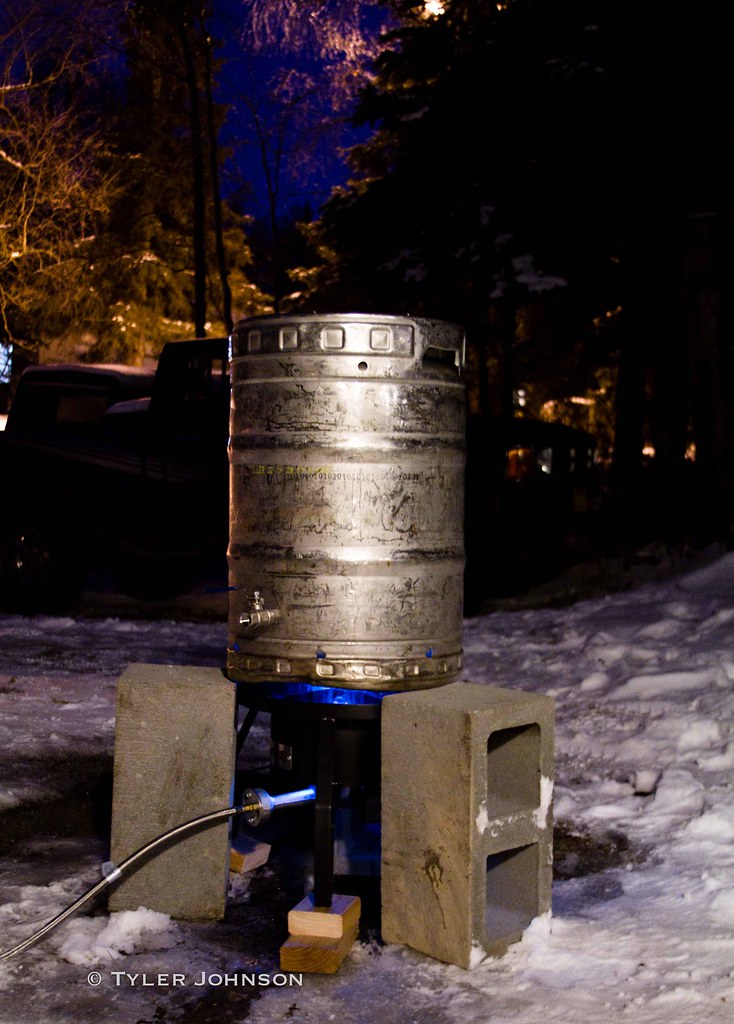
Once your wort is ready to go, you want to bring it to a rolling boil. This can be tough when temps are below zero and your propane regulator freezes... Just as an FYI.


The typical batch requires 60-90 minutes of boiling. This is the point where you're adding hops to give the beer bitter flavors and aromas. All of this comes from releasing the acidic oils in the hops and depending on what kind you use and how long they are in the boil - some are in for the duration, some are added at incremental times, and some will be in for just the last minute or two - they will affect the overall character of the beer in different ways. Hops can give beer floral, citrusy, piney, or spicey notes and in my opinion, tend to give most beers their most defining characteristics.

It should be noted at this point that you definitely ought to be drinking beer while you're working on a batch. In fact, I think it's illegal not to in some states.


There are a few tools that help along the way. The image below is of a hydrometer. It's used, among other things, to keep track of how much potential the beer has for fermentation.

After the boil is complete, the beer needs to be cooled to a temperature that is ideal for the yeast to go to work. The quicker you can do this, the better off you'll be because it can be a critical time for the success of the brew. One way to think of it is that after the boil is brought down, you want to get your yeast to the sugars in the wort before any bacteria can get to them. The best method for dropping the temperature is to run cold water through a copper coil submerged in the kettle. It's actually one of the more spendy, optional pieces of equipment. When you consider it in this context though, I think every homebrewer should have one.
From the kettle, there are a few options for how to ferment your beer. Ours goes into a glass carboy for primary fermentation. After the yeast takes care of business and settles out, our beer is then racked into a keg and stored for few more weeks before carbonation. The point of doing this is two-fold. It allows the beer to continue to mature in addition to leaving behind the sediment of the used up yeast. This gives the beer a more pure and developed flavor. From an aesthetic standpoint, secondary fermentation also results in a bit more clarity in the beer due to the fact that again, more sediment will drop out of suspension and settle.

Like fermentation, you also have a few options for how to carbonate. A simple way to do it is to seal the beer inside bottles with a bit of priming sugar. With this method, the small amount of remaining yeast will run another light fermentation cycle producing the CO2 needed to finish things up.
Personally, I don't like to bottle. It's insanely messy no matter how good you get at it, you end up wasting beer, and it takes f-o-r-e-v-e-r. I also prefer to have beer on tap because of the way it tastes and because it's fun to pour, so our beer is racked one final time into two 5 gallon kegs. From there, depending on the style of beer, it can be cooled and force carbonated directly with CO2 pumped in at around 25 PSI. Typically this takes another week or so. Admittedly, I can get a little impatient at this point and have occasionally been known to shake full kegs to help the CO2 evenly distribute itself faster. I should at least say that I don't recommend this, but it happens from time to time.
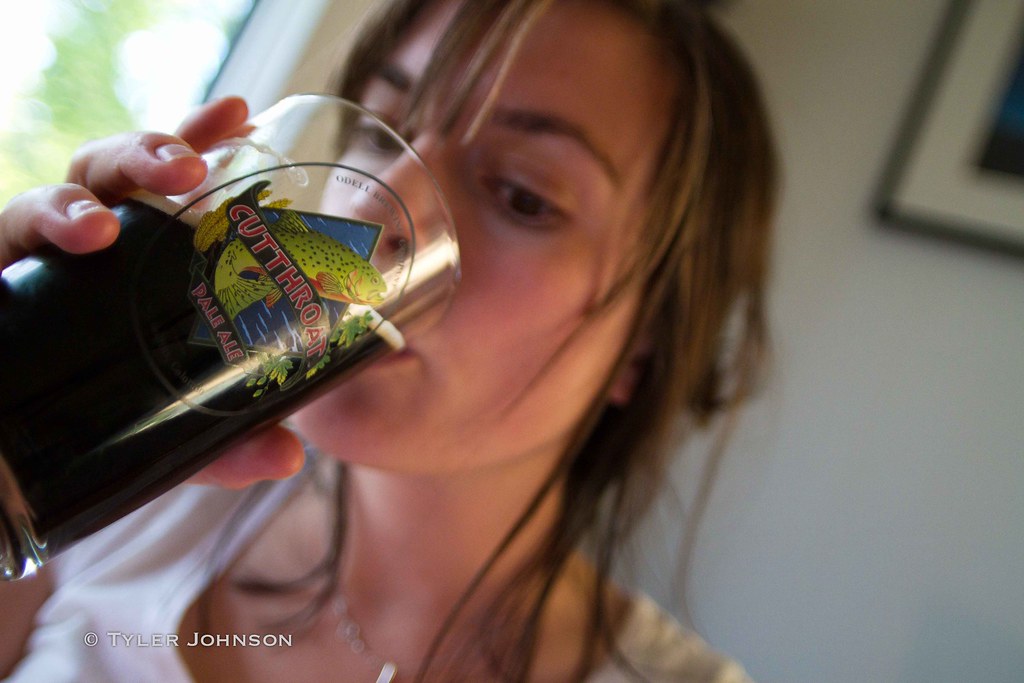
And finally, the beer is ready to drink. It will continue to change over time because after all, it's a living thing. One of the most rewarding things about brewing all-grain batches, meaning that there are no extracts or pre-processed ingredients, is that you know every single thing that is in your beer. Over time, you can learn to taste the effects of every ingredient and decision you make along the way. The same goes for mistakes too, by the way. Anyway, I hope to keep working on my brewing and tasting skills for a long time.
Oh, and don't forget. Every brewing operation needs an official mascot. Chandler and Jenny's dog Lucy is ours.